Coverage Schedules
Expand each section to review content for each topic.
Employee Schedule Page Icons and Color Bars
| Icon | Location in Visual Scheduling | Description |
|---|---|---|
 |  | Schedule bar that indicates the employee is assigned to a schedule that matches the employee's home workgroup. |
 |  | Schedule bar displaying workgroup details indicates the employee is assigned to a schedule outside of the employee's home workgroup. |
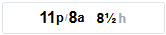
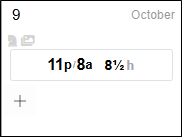
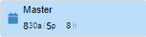 |  | The Master blue bar with schedule time displayed beneath a schedule indicates the employee is assigned to a schedule that is part of a master template. |
 |  | The grey calendar icon indicates this schedule is managed by the schedule template. |
 |  | This icon displayed in the employee schedule page indicates the schedule is based on a schedule pattern. |
 |  | The knight chess piece icon indicates that the schedule extends from one day to the next. |
 | The two yellow arrows icon indicates this schedule is transfer from home workgroup assignment. | |
 |  | This icon indicates the schedule requires employee confirmation. |
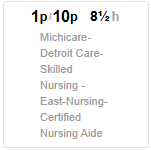
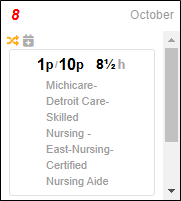
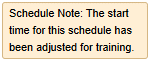 | 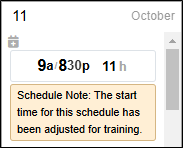 | The peach-colored bar displays notes that have been added to the schedule by the scheduler or manager. Schedule notes are only visible to schedules and managers. |
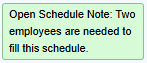 | 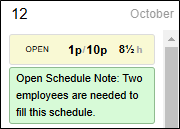 | The green bar display notes attached to an open schedule. Users have authority to manage open schedule notes. If the open schedule notes notification is enabled, candidates of this open schedule can recieve notification via email, ESS Mobile App and/or Text when the open schedule notes are added, modified, or removed. Note: Employees who are previously assigned to this schedule can't see open schedule notes. |
 | 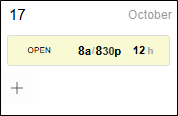 | The yellow schedule bar indicates an open schedule. Click the yellow bar to assign the employee to the schedule. |
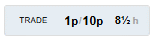 | 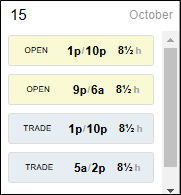 | The light blue schedule bar indicates a schedule that is availabelf or trade. Show Trades must be enabled in the Schedules page Preferences to view schedules available for trading. 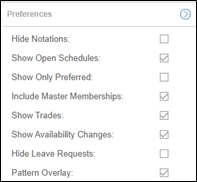 |
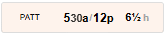 | 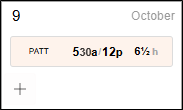 | The pink schedule bar indicates a schedule pattern the employee is assigned to. Pattern overlay mys be enabled in the Schedule page Preferences to view schedule patterns. |
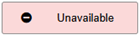 | Unavailable Full Day 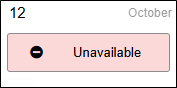 Unavailable Part Day 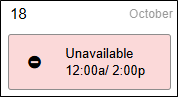 | The pink unavailable bar indicates days or time periods when the employee is unavailable for scheduling. Show Availability changes must be enabled in the Schedules page Preferences to view availability. |
 | 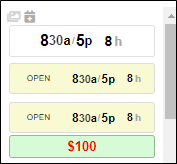 | If the schedule has a bonus or incentive, the rate or dollar amount is displayed in a green bar. |
Work Position Coverage Chart
The work position coverage chart provides a visual summary of the coverage schedules, including schedule times, assignments, schedule overages, and schedule shortages, for a work position on the selected day.- To view a coverage chart, click the work position in the schedule template and select Show Coverage Chart.
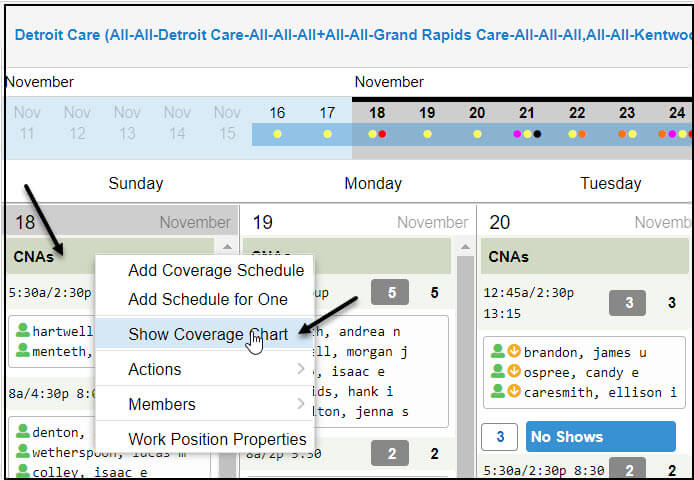
- The schedule template is replaced with the coverage chart in the Visual Scheduling window.
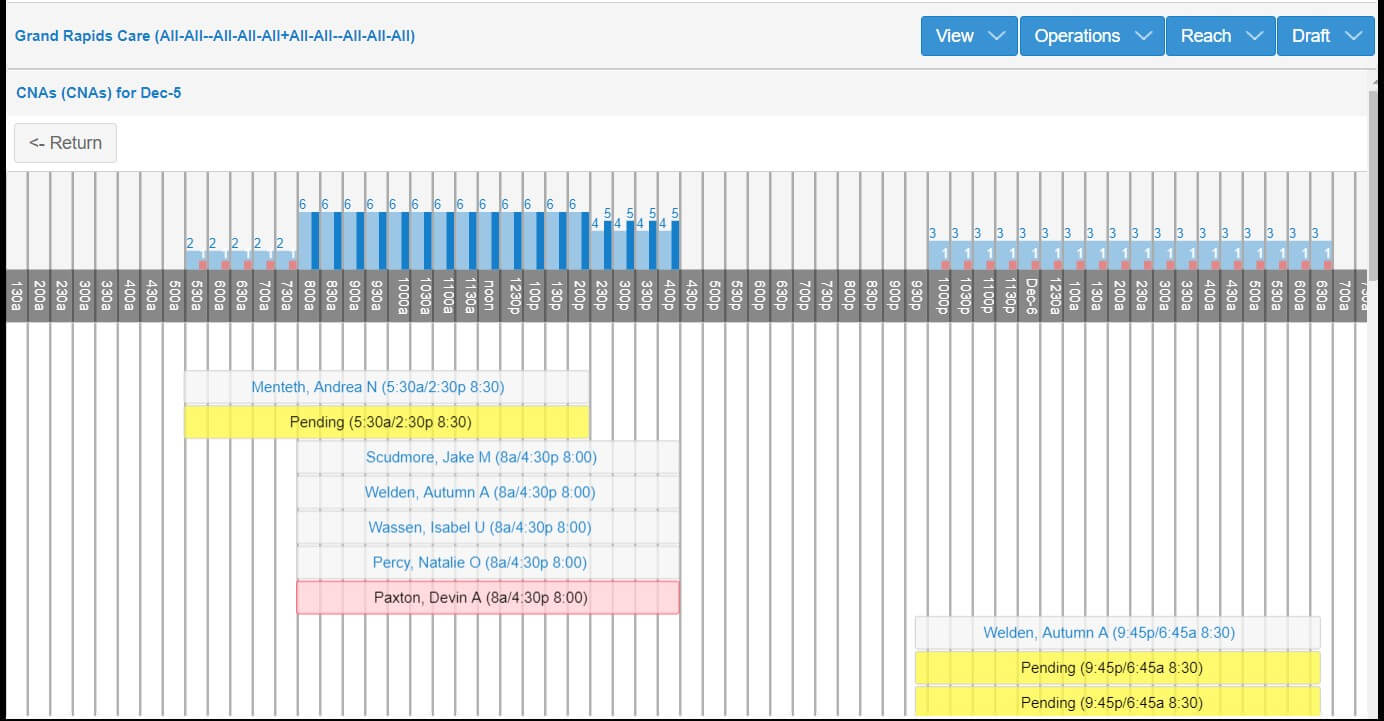 The calendar in the Active Date field updates accordingly.
 - The bar chart above the timeline indicates the number of employees required for the shift and highlights when more employees have been assigned than required. The bars below the timeline show the names of the assigned employees (pink bars indicate over-assignment), as well as open shifts (yellow bars).
Download the PDF job aid here--> Work Position Coverage Chart.
Adding a Coverage Schedule
If an additional coverage schedule needs to be added to a work position in your Visual Scheduling template, it can be added from within the template.
In order to add a new coverage schedule, you will need to:
- Click the desired work position name.
- Click Add Coverage Schedule.
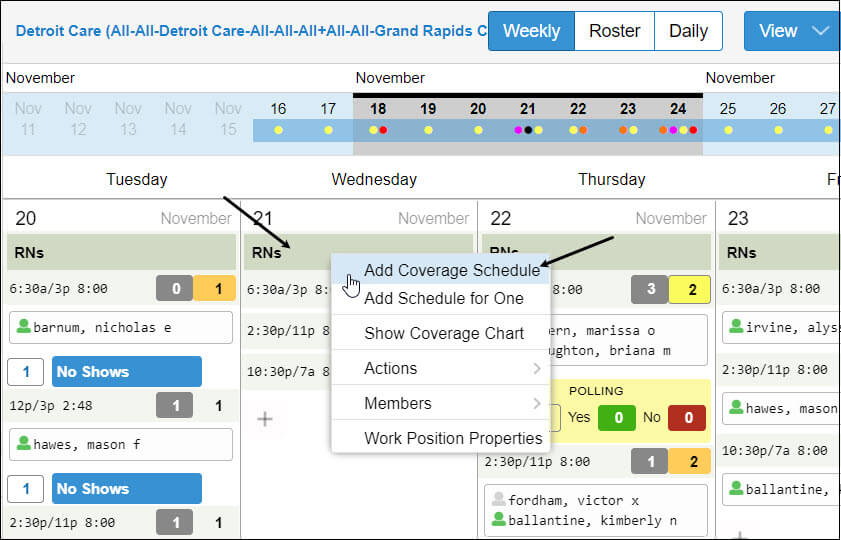
- Assign a zone (if needed).
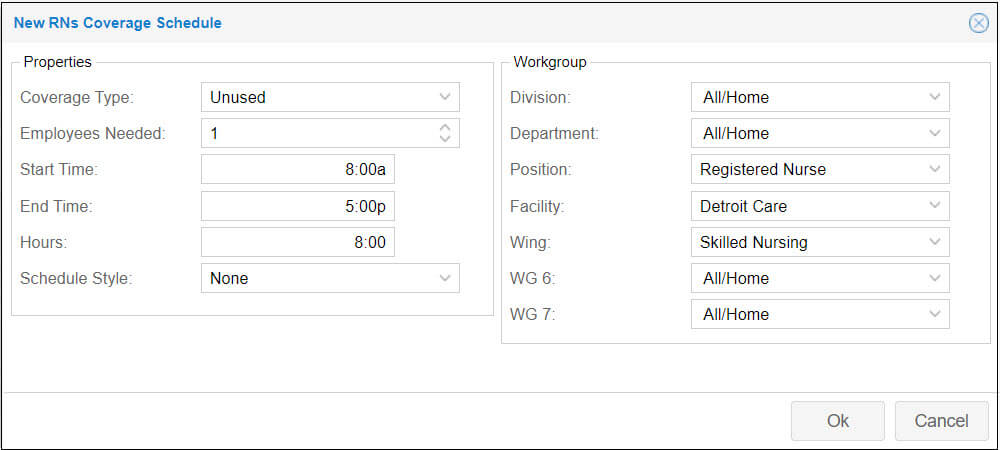
- Click Ok. If your schedule is using sub positions, you will want to assign a sub position to the new schedule.
Download the PDF job aid here--> Adding a Coverage Schedule.
If an additional coverage schedule needs to be added to a work position in your Visual Scheduling template, it can be added from within the template. In order to add a new coverage schedule, you will need to:
- Click the desired work position name.
- Click Add Coverage Schedule.
- Assign a zone (if needed).
- Click Ok. If your schedule is using sub positions, you will want to assign a sub position to the new schedule.
See Adding a Coverage Schedule for details.
Coverage schedules in a Visual Scheduling schedule template can be adjusted to increase coverage, adjust schedule times and change the workgroup levels. Below are the steps to adjust coverage schedule properties.
- Click the desired coverage schedule.
- Click Adjust Schedule Properties.

- Change the Start/End Time by typing the new time directly in the field.

- Click OK.
- Change the number of Employees Needed by clicking the up and down arrows in the field.
- Change the Zone using the drop-down menu.
- Click OK when you have finished making changes. When you make a change to the Start/End Time of a coverage schedule where multiple employees are assigned, all assigned employees will have their Start/End time updated for that day.
See Adjusting Coverage Schedule Properties for details.
Below are the steps that you can take to add an employee in the candidate list to an open schedule.
- Click the open schedule.
- Click View Candidates.

- Locate the desired candidate.
- Click the Assign button under the desired candidate.

- Click Save.
If you don’t see the employee that you are looking for, make sure that you have the appropriate candidate filter enabled.
To assign a candidate to a coverage schedule, see Assigning a Candidate to a Coverage Schedule for details.
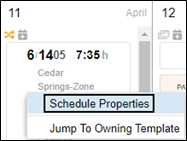
The coverage schedule menu provides access to view and manage assigned employees, access the candidates who are eligible to work the coverage schedule, adjust schedule properties and remove the coverage schedule.
To view the coverage schedule menu, click the coverage schedule in the schedule template.

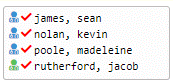
The View Candidates menu item opens the Candidates panel with a list of employees who are eligible to work the coverage schedule.
The Current Assignments menu item opens the Assignments panel with a list of the employees assigned to the coverage schedule.
The Release All Assignments menu item lets you remove the assigned employees from the coverage schedule.
The Change Schedule Notation menu item can be used to add a note about the schedule for other users.
The Adjust Schedule Properties menu item can be used to make changes, such as coverage numbers, schedule times and workgroup assigment.
The Remove Schedule menu item can be used to remove the coverage schedule from the template.
See Coverage Schedule Menu for details.
A candidate list can be managed more easily by applying filters to narrow the list to the most relevant candidates based on eligibility and availability for the coverage schedule. A default filter set, called “My Filter Set” is already avaiable in the filter list. You can modify this filter set to meet your needs or add a new filter set.
To apply a filter set to a candidate list, click the My Filter Set button. The list will be modified base on the filters in the set.


See Filtering a Candidate List for details.
Dividing a facility into physical areas to localize work positions and minimize distances employees must travel to perform work is the basis for zone scheduling. Zones may represent floors, wings, or other areas in your organization which your schedules may be based on. If your schedule template is using zones, you will see orange text, with the assigned zone name, within the date cells of your schedule.

- Click the work position in your schedule template and select Add Coverage Schedule.
- In the new coverage schedule window, select the workgroup level that matches the zone in the Workgroup field.
- Click OK.

- Click the coverage schedule that the employee is assigned to.
- Click Current Assignments.
- Click the icon for the employee that needs to be changed.
- Click Change To.
- Click on the desired zone.

See Using Zone Schedules for details.
The Escalate Search feature in Visual Scheduling allows you to send a callout to employees with a request to work an open schedule. This feature is most often used when there is a critical need for employees to work an upcoming coverage schedule. This function is available for any schedule in the schedule template in any stage within one week from the current date. The call out sequence prompts a polling box in the template that allows you to track employee responses and access the Polling panel to assign employees to the schedule.
| Polling Box | Employee Response to Callout |
|---|---|
 |  |
Here’s how it works:
- A text is sent to a schedule’s candidates describing the schedule and including codes for yes and no responses.
- Employees respond with the code representing either yes or no.
- The scheduler selects a candidate from the yes responses and assigns the schedule.
- The assigned employee receives a confirmation text. Other employees who responded positively receive a text explaining that the position has been filled.
Watch the video below on how use the escalate search.
Sending a Callout
Locate the open schedule in your Visual Scheduling template and click the schedule to select View Candidates from the drop-down menu.

In the Candidates panel, Click the Operations button and select Escalate Search.

An Escalate Search window is presented displaying text details, including the number of employees who will receive the text and the contents of the message about the open shift.

The default text message can be edited or replaced. Click in the Message field and edit or type a new message to replace the default
Employee Responses
Employees receive a text with the message added in the Escalate Search window and two codes to respond back to the scheduler. A five digit code can be typed in the replying text field to indicate interest in picking up the shift. An alternate five digit code can be typed in the replying text field to indicate that the employee is not interested in working the shift.

After responding with to the text message with a code, the employee receives a response from the system:
| Employee Response | System Response |
|---|---|
| Yes | No |
| Your affirmative response has been registered. Confirmation will follow later. | Thank you. Maybe next time. |
 |  |
ESS Mobile Contact Preferences for receiving text notifications must be enabled which is indicated by the blue highlight and the appropriate phone number is selected. For additional details, please visit the Employee Mobile section
Tracking Responses in the Template
Click the Polling box in the Visual Scheduling template and click Refresh to update the polling response numbers.
| Before Refresh | After Refresh |
|---|---|
 |  |
Assigning an Employee to the Coverage Schedule
To review the employee responses in the Polling panel, click the Polling box and select Show Responses.

The Polling panel lists all of the candidate responses to the call out. Employees who have not responded are listed as Pending. Click the Assign button for the employee or employees you want to add to the schedule. Click the Save button after making your selections.

The system sends a text to the employee indicating the employee has been assigned to the schedule with the date and time of the schedule.

Closing the Callout Session
When the coverage schedule is fulfilled, you can close the callout session by clicking the polling box and selecting Close Callout to send a message to the candidates.

Enable the checkbox to send the closeout text to employees who responded, but were not selected, and employees who have not responded yet to the callout text. Send the default message displayed in the Message field or edit the default message with a new message.

Employees will receive a text that the position is filled. Replies to the callout will no longer be received for the position.

Download the PDF Escalate Search for further details.